Water tanks, pump sheds, weather stations, gates, cameras on a distant boundary: some of the most useful places for a 4G router are nowhere near mains power. The good news is that Teltonika routers are built for this. They run on low-voltage DC, use only a few watts, and are rated for -40 °C to 75 °C, so a modest 12 V solar and battery setup will keep one online year-round. Here’s how to size and wire it properly.
Step 1: How much power does the router use?
Teltonika publishes measured power figures for each model. These are typical numbers at 12 V with mobile data running:
| Router | Typical (connected) | Maximum | Input voltage |
|---|---|---|---|
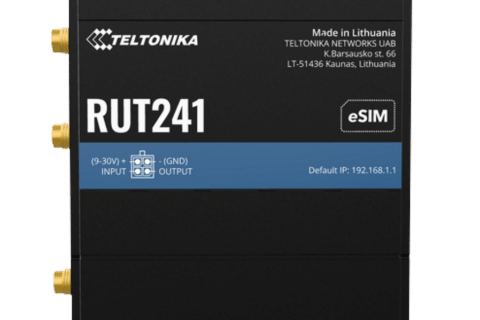
| RUT241 | about 1.3–1.5 W | under 6.5 W | 9–30 V DC |
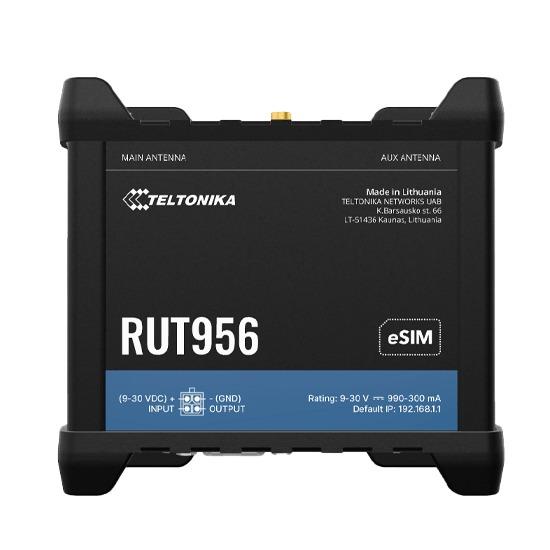
| RUT956 | about 1.8–1.9 W | under 7 W | 9–30 V DC |
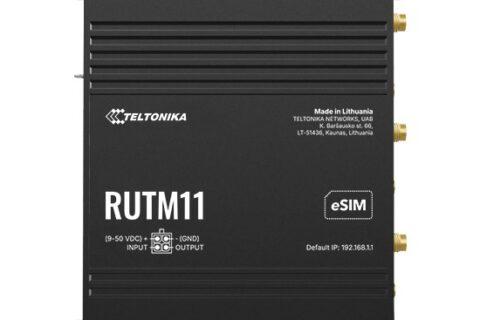
| RUTM11 | about 3.6–3.8 W | higher under full load | 9–50 V DC |
| RUTX11 | about 3.9 W | around 10 W under full load | 9–50 V DC |
The compact RUT2xx and RUT9xx routers are the most frugal. The gigabit RUTX and RUTM models use roughly two to three times as much, which is fine if you need the speed, but it means a bigger panel and battery.
Don’t forget everything else on the same battery: cameras, sensors, a PoE switch, a radio link. These often use far more than the router itself. Starlink in particular draws many times more than any Teltonika router, so plan it as a separate, much larger load.
Step 2: Work out your daily energy
Multiply the average power by 24 hours, then add a margin of about 25% for busy periods and losses:
- RUT241: 1.5 W × 24 h = 36 Wh per day, or about 45 Wh with margin
- RUTX11: 4 W × 24 h = 96 Wh per day, or about 120 Wh with margin
Step 3: Size the battery
The battery has to carry the site through nights and runs of cloudy days. For an unattended site, plan for at least 3 days with no sun, more if the site is hard to get to.
- RUT241: 45 Wh × 3 days = 135 Wh, about 11 Ah at 12 V. A 12 V 20 Ah lithium (LiFePO4) battery gives a comfortable buffer.
- RUTX11: 120 Wh × 3 days = 360 Wh, about 30 Ah at 12 V. Look at 12 V 40–50 Ah LiFePO4.
LiFePO4 is the best choice for remote sites: it handles deep discharge, lasts thousands of cycles and copes with heat far better than lead-acid. If you do use lead-acid (AGM), roughly double the capacity, because you shouldn’t regularly discharge it below about half.
Step 4: Size the solar panel
Size the panel for winter, when the days are short and the sun is low. Divide your daily energy by your site’s winter peak sun hours, then allow for losses (around 70% overall efficiency is a sensible planning figure). Check the winter peak sun hours for your area, as they vary a lot across Australia.
As a rough guide for much of inland NSW, with about 3.5 winter peak sun hours:
- RUT241: 45 Wh ÷ (3.5 × 0.7) ≈ 18 W, so a 40–50 W panel gives a good margin.
- RUTX11: 120 Wh ÷ (3.5 × 0.7) ≈ 49 W, so a 100 W panel is the practical choice.
Panels are cheap compared with a site visit, so err on the larger side, and tilt the panel steeply (close to your latitude or more) to favour winter sun.
Step 5: Wire it properly
- Use a quality MPPT charge controller with a load output and low-voltage disconnect. It protects the battery from being run flat, and brings the router back on automatically when the sun returns.
- Fuse it. Put a fuse close to the battery positive, and a small one (a few amps) on the router feed.
- Use the right cable. Teltonika’s 4-pin power cable with terminal block or open-wire power cable connects straight to a controller’s load terminals. Red is positive and black is negative.
- Running a 24 V system? A fully charged 24 V lithium battery can sit very close to 30 V, the top of the RUT241 and RUT956 input range. For 24 V systems, choose a router rated to 9–50 V such as the RUTM11 or RUTX11, or use a DC-DC converter.
- Keep it cool and dry. Mount the router in a ventilated, shaded, weatherproof enclosure, away from direct sun on the box.
Step 6: Save power and keep an eye on it
- Turn off Wi-Fi if nothing at the site needs it. Disabling unused features trims consumption.
- Put big loads on a schedule. If a camera or Starlink only needs to run in daylight, switching it off overnight can cut the battery and panel size dramatically.
- Monitor the battery. Models with an analog input, such as the RUT956, can read a 12 V battery voltage directly and send an SMS or email alert if it drops too low. Check the input’s voltage limit before connecting higher-voltage systems.
- Manage it remotely. Teltonika RMS shows you the router’s status and lets you fix settings without a long drive. Many solar charge controllers can also report battery state over the network once the router is there.
- Adding cameras or sensors? The TSW101 switch is designed for automotive and solar power systems.
A quick example
A farm wants to monitor tank levels and a pump at a site with good 4G coverage. A RUT956 (about 2 W) handles the sensors through its I/O and serial ports and alerts on low battery. Budget about 60 Wh per day with margin, so a 12 V 30 Ah LiFePO4 battery and a 60–80 W panel on a small MPPT controller keeps it running through a typical winter week. Add a camera, and the numbers need to be worked out again around the camera.
Want a hand with the numbers?
Tell us what you’re powering, where the site is and what else is on the battery, and we’ll help you pick the right router. Call 1300 803 755 or email sales@ltegear.com.au.