Starlink has been a game changer for regional Australia. But anyone who relies on it for work knows it isn’t perfect: a tree that’s grown into the view, heavy rain, a dish update or a short outage can drop you offline at exactly the wrong moment. The fix is simple: put a Teltonika router in front of Starlink and give it a 4G or 5G SIM as backup. If Starlink drops, the router switches to mobile automatically, usually within seconds, and switches back when Starlink returns.
How it works
The Teltonika router becomes your main router. Starlink plugs into its WAN (internet) port, and a SIM card goes in the router’s SIM slot. The router constantly checks whether each connection can actually reach the internet, not just whether a cable is plugged in. When Starlink stops answering, it moves your traffic to mobile. Your devices stay connected to the same Wi-Fi and network the whole time.
Teltonika’s RutOS firmware has this built in. Under Network → Failover you’ll see your Starlink connection (WAN) and your mobile connection (mob1s1a1); you set Starlink as the primary and mobile as the backup. RutOS also includes built-in Starlink monitoring, so you can see the dish status from the router.
What you need
- Your Starlink kit, already set up and working.
- A way to get Ethernet out of Starlink (see below; it depends on your kit).
- A Teltonika cellular router with an Ethernet WAN port.
- A SIM card with data on whichever carrier has the best signal at your site.
- An Ethernet cable.
Getting Ethernet out of Starlink
- Starlink Standard (Gen 3 router): the router has two Ethernet ports under the rubber cover on the back, so no adapter is needed.
- Older Starlink kits with the Gen 2 router: you’ll need the official Starlink Ethernet Adapter.
- Starlink Mini: the Ethernet port is on the dish itself, behind a plug. Use Starlink’s Mini Ethernet cable or a standard outdoor-rated network cable.
Bypass mode or not? You can simply plug the Teltonika into the Starlink router and it will work. For the cleanest setup, though, turn on bypass mode in the Starlink app, so the Teltonika does all the routing and Wi-Fi. Be aware that on most kits you need to factory reset the Starlink router to turn bypass mode off again.
Choosing the right router
Two things matter most: the speed of the Ethernet ports and the speed of the mobile backup.
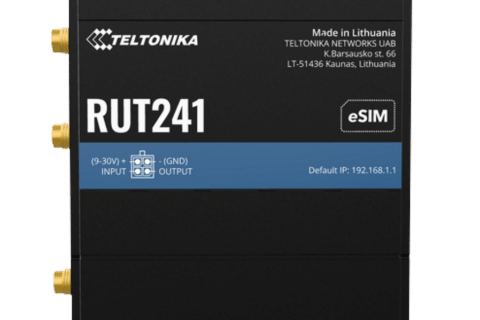
Starlink regularly delivers more than 100 Mbps, so pick a router with gigabit Ethernet. Routers with 10/100 ports (like the RUT241 and RUT951) work fine for failover, but they’ll cap Starlink at under 100 Mbps.
| Router | Backup | Good for |
|---|---|---|
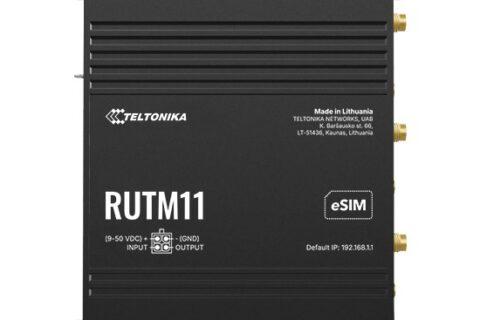
| RUTM11 | 4G Cat 6, dual SIM, gigabit ports, dual-band Wi-Fi | The reliable all-rounder for homes, farms and small offices |
| RUTM09 | 4G Cat 6, dual SIM, gigabit ports, no Wi-Fi | Sites that already have their own Wi-Fi access points or mesh system |
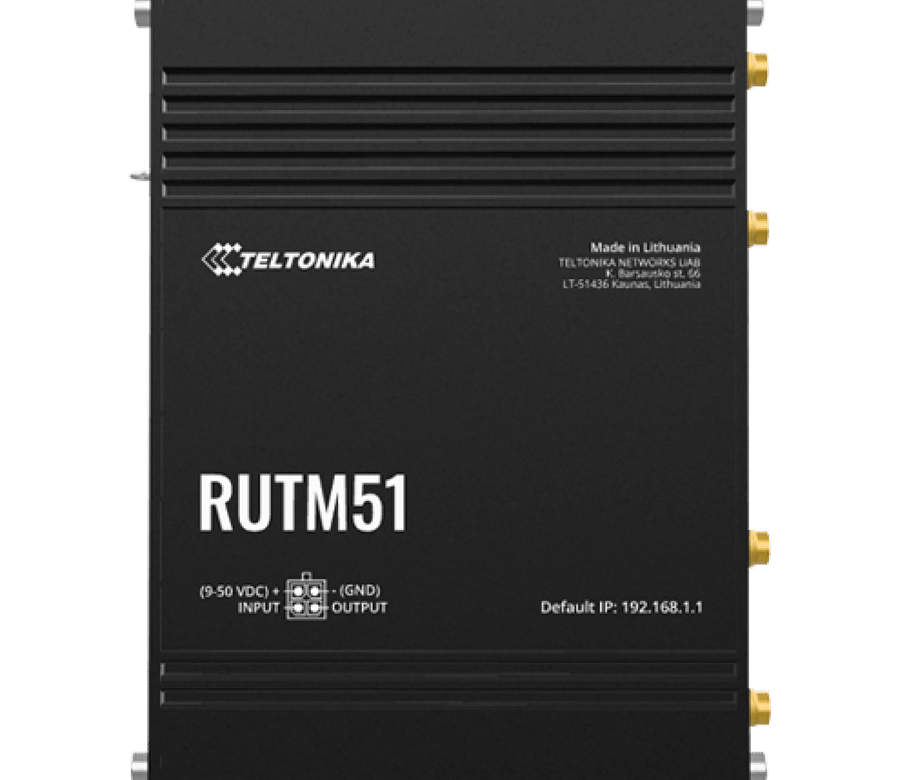
| RUTM51 | 5G (4G Cat 12 fallback), dual SIM, 5 gigabit ports, Wi-Fi | The budget-friendly 5G option, where there’s 5G coverage and you don’t want to notice the switch |
| RUTM59 / RUTM54 | 5G up to 3.4 Gbps, dual SIM (RUTM54 adds eSIM) | Higher-end 5G sites and busy offices |
| RUTM52 | Two 5G modems online at once | Sites that can’t afford any downtime |
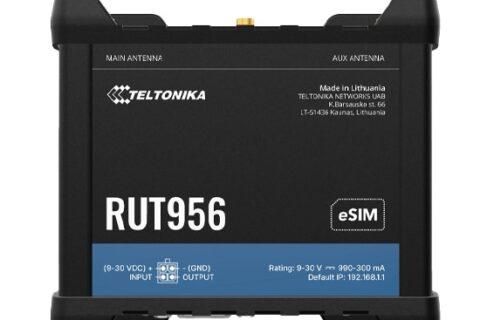
| RUT951 | 4G Cat 4, dual SIM | Budget backup where Starlink speed above 100 Mbps doesn’t matter |
All of these except the RUT951 are from Teltonika’s newer RUTM series, which has gigabit ports across the range. A 5G backup like the RUTM51 is fast enough that you’ll barely notice when it switches. In much of regional Australia, though, a good 4G router like the RUTM11 with a decent external antenna is the more practical choice. Dual SIM models let you add a second carrier as a third layer of backup. For help choosing, see Which Teltonika router do I need?
Setting it up
- Connect Starlink’s Ethernet to the Teltonika’s WAN port and insert your SIM.
- Log in to the router (by default at 192.168.1.1; the password is on the label) and confirm both the WAN and mobile connections show as online.
- Go to Network → Failover. Put WAN (Starlink) at the top and mobile second.
- Edit the failover rules for each connection. We suggest checking by pinging two reliable addresses such as 1.1.1.1 and 8.8.8.8, rather than a single one.
- Test it: unplug Starlink’s cable and watch the router switch to mobile, then plug it back in.
Teltonika’s wiki has a full step-by-step Starlink failover guide if you want the screenshots.
Tips from the field
- Don’t make it too twitchy. Starlink often has very short blips. If the failover rules react to every one-second drop, the router will flick back and forth. A few seconds of tolerance gives a smoother result.
- Size the backup data sensibly. If Starlink is your main connection, the SIM only carries traffic during outages. A modest data plan is usually enough, but watch out for big updates and backups that might run while you’re on mobile.
- Remember the antenna. At regional sites, an external 4G or 5G antenna often makes more difference to the backup than the router itself.
- Power both on the same backup. Failover won’t help in a blackout unless Starlink and the router are both on a UPS or battery system. Teltonika routers run on DC power, which makes them easy to put on 12 V or solar setups.
- Want both at once? RutOS can also load balance, using Starlink and mobile together rather than keeping mobile idle.
- Manage it remotely. With Teltonika RMS you can check which link a remote site is using, get alerts when it fails over, and change settings without driving out.
Need help putting it together?
Tell us about your site: which Starlink kit you have, the mobile coverage, and what’s connected. We’ll recommend the right router and antenna. Call 1300 803 755 or email sales@ltegear.com.au.